
When I started freshmeat training, one of the first requirements was that we had to have a mouthguard. So, of course, I ran out to Dick's and grabbed a cheap mouthguard - one of those big clunky ones that hockey players use. I hated it. Absolutely hated it. I'd forgotten how much I'd hated wearing one when I played soccer years ago. It made it hard to breathe, I had to constantly think about holding it in my mouth, and because it had some rough edges and I have a smaller mouth, it actually tore up the insides of my upper lip and gave me painful cuts. Not fun.
 |
| MoJo wearing her Sisu Mouthguard |
The final piece of my "freshmeat" gear package was, of course, my very own skates! When I went up to Bruised Boutique in New Hampshire, I had no real idea what I was looking for in skates, only that I had a basic price range I was trying to stay within. As a brand-new skater, I didn't want to spend more than two hundred dollars on my skates in case a year from now I decided Derby wasn't for me. What's great about going to Bruised is that armed with only that price range to start with, I was able to go and try on several different styles of skates to see what I liked. I have to admit that trying them on was sort of like shopping for my wedding dress years ago, once I tried the right pair on, I just knew. They felt right...at least then.
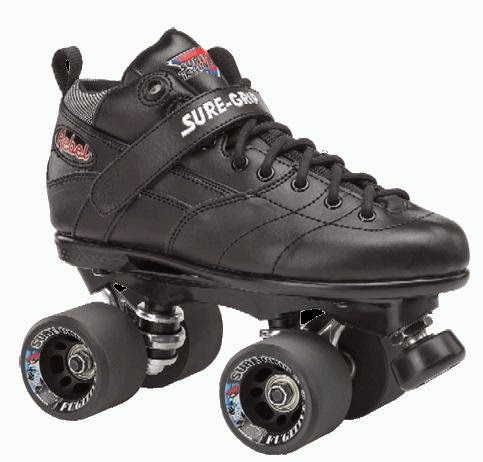 |
| Sure Grip Rebel Fugitives. |
What I went with were Sure Grip Rebel Fugitives. I could list off the specs for you, but that's really not at all why I chose them. I put them on and they felt cushy in all the right places. They didn't feel too tight and I could go up on the toe stops comfortably. They felt great. In finishing my freshmeat training and taking my Level One test, they were such a step up from the sneaker skates I'd been skating on originally that they felt like a dream.
Months later, though, gearing up to pass my Level Two test, and skating more and more in real drills with our rostered skaters, I can identify now some of the things I'd like to change when I get my next pair of skates. And yes, it's only been about four months, but I've already started falling into the Derby trap of dreaming about my next gear upgrade. LOL.
 |
| My skates with the Radar Bullets and upgraded toe stops (Gumballs). |
In fact, in the last two weeks, I've started trying out different wheels to see how that affects my skating. My skates originally came with 92 Fugitives, which are a fairly grippy wheel, highly recommended for freshmeat skaters. When just learning all the basic skills they worked well. As I've been tackling more advanced skills, though, I realized that combined with our wooden indoor roller rink floor, my Fugitives were maybe a little too grippy for some things. One of our co-captains, Suga Burn, lent me a pair of her wheels, 97 Radar Bullets and the difference they've made in trying to do things like plow stops has been amazing!
 |
| My skates with the original Fugitives in a wheel bag. |
When I go to do laps with the 97s on, though, I'm having a new problem and am feeling SO slippery that I tend to slide out all over the place. Hopefully, Astra will be lending me her 93 Radar Bullets soon and I'm going to try to put those on as "pusher wheels," keeping some 97s, and get some grip mixed in that way, allowing me to do things like plow stop but also hold tight through turns. Until I have really figured out exactly what type of Derby skater I'm going to be and what I will need from my skates, I feel like there's going to be a lot of trial and error in learning about boots, wheels, plates, and other skate parts and how they can change the feel when you skate.
Since I probably won't spend another couple hundred dollars on new skates anytime soon, at least finding a potential upgrade in my wheels is a better, less expensive way to up my game without breaking the bank. I really wish there was a place you could go to just try on different wheels and sort of "test drive" them like you would a car before buying, but for now I can borrow some skaters' extra wheels and narrow options down a little bit that way!
Until next time...
Nikki Tesla #134


